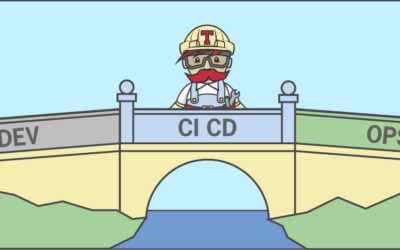
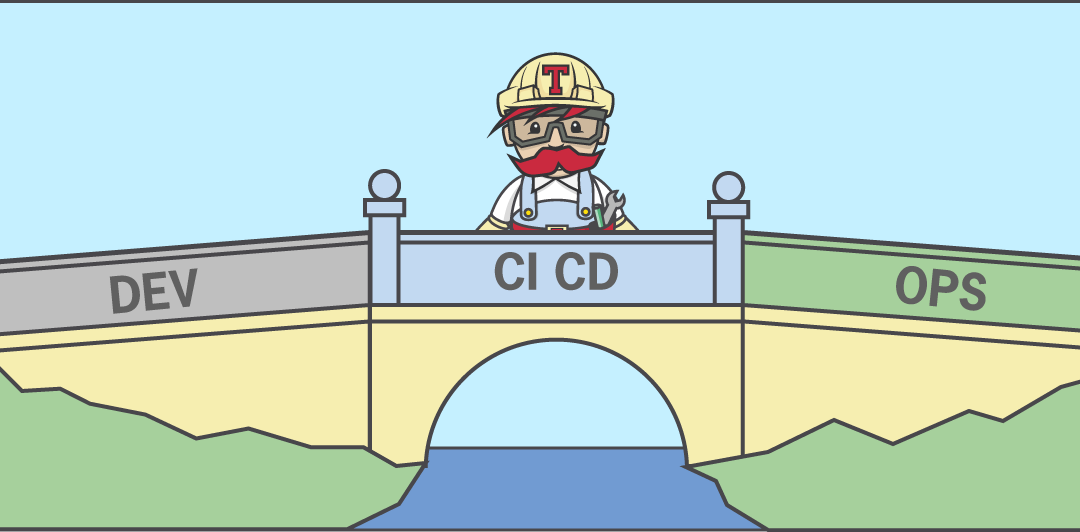
What is CI - an Introduction (Part 1)
If you’re a newcomer to Continuous Integration (CI), you might find yourself a little lost at exactly what it does and how it works. Not to worry! In this series of blog posts, we’re not only going to guide you through setting it up for yourself, but also explain in what situations it will benefit and assist you.
So, first and foremost, the most important question of them all:
What is Continuous Integration, and what does it do?
The short and sweet version is as follows: Continuous Integration is a set of tools and systems that takes the brunt of unit testing and deployment off your shoulders, and allows you to focus on working on creating. When you add or change anything, the tools will run your tests for you and report back, as well as make sure that everything runs as it should. Travis CI works by taking the code you have written and committed to GitHub, and then running a series of tests that you’ve defined. Once the tests are done, and the builds are complete, it can push the updates to your servers for you. Instead of running all these tests by hand and then deploying your code, you can focus almost entirely on your code. More time building, less time checking for structural integrity.
How can it help my project?
If you’ve not yet used CI, you might be asking yourself if it’s really that useful to you. For small, tiny projects it’s a very valid question since you’re usually interacting with all the pieces continuously anyway. But as your projects grow and you now find yourself spending more and more time testing individual components to make sure they all play along as they should, using CI becomes a much bigger benefit.
Take for example a simple website: You’re writing your site and adding a few internal and external links. You make sure the links work in the nav bar, and all appears great. You upload it, and all of a sudden you hear a report that one of the links no longer work. You track it down and it turns out that this one link outside of the navbar had not been updated properly.
While finding a missing link isn’t usually challenging work or even that time intensive, it’s usually not the most interesting way to spend your time. This is even more true if it’s a link on a page that doesn’t often get updated (for example, maybe a link on your Terms of Service.)
Contrast with a CI implementation that’s set up to look for missing links: You write your update, save and commit, and then go about your business. A few moments later, you get an email saying there was a problem with the build. A quick look tells you what the problem is, and you fix it. Save, commit, and once more, you go on your way. A few moments later you once more get an email, but this time, it’s a success! You’re now confident that all the links are working properly, and not just that, you can also set Travis up to upload to your site (through many, many methods) when all tests are successful. You don’t even need to spend time uploading it.
This is a simple but common setup. For anything but the smallest of projects, having these types of tests will help you focus more on development.
Let’s get started!
So, you’re ready to set up Travis for your project- where to start?
The first thing you’ll need to do is connect your Travis CI and GitHub accounts together. When you sign into Travis with your GitHub account, you’ll be automatically brought to your most recent builds. There won’t be anything in it just yet- so click on your profile in the upper righthand corner.
From here, you should be able to see all the repositories on your account, as well as a list of all the organizations you belong to on GitHub. To use Travis, you’ll first need to activate it on the repository you’d like to work on by clicking on the slider next to it. Once you activate a repository, Travis will start listening for changes - the first step towards your first build!

Travis CI requires a .travis.yml configuration file to run. When you push a commit to GitHub, our system looks for the .yml file and executes the commands contained within. Here’s an example of an extremely simple .travis.yml file for a python project:
language: python
script: true
As you can see, this is a very simple example- it will always pass, since no tests are actually being done. Now, let’s take a look at a more complex .travis.yml file:
sudo: required
language: python
before_install: sudo pip install foo
script: $unit_tests
This is still pretty simple, but it shows off some of the cool features in the .travis.yml file. For example- by default, all Travis builds run in our container-based Linux infrastructure. However, builds which specify that they require the use of sudo run in fully virtualized environments on a different infrastructure- thus allowing you to have the quick build times of a container based build or the full control a virtualized environment offers depending on your needs!
All of our build environments (the ‘blueprints’ of the server) come with some packages pre-installed by default, but let’s say that you need a dependency that our build images don’t come with for your unit tests. That’s not a problem - with the before_install
command, you can install packages or do other tasks to set up your build, all completely automated!
The script section, as you’ve probably guessed by now, is where you’ll specify the tests that you want to run- if you were building a website, checking to make sure all your links still work, etc.
To help with the specifics of your project, there are different .travis.yml configuration examples per programming language at https://docs.travis-ci.com/user/languages
Once you’ve finished setting up your .travis.yml file, you’re good to go! From now on, when you push changes to GitHub, Travis CI should pick it up along the way and automatically test your project, so you can be sure your code has gone through all the tests you intended!
We hope this has helped you learn a bit about what CI does. Of course, there’s plenty more to learn. Swing by next week where we’ll continue looking into what else CI can do for you.